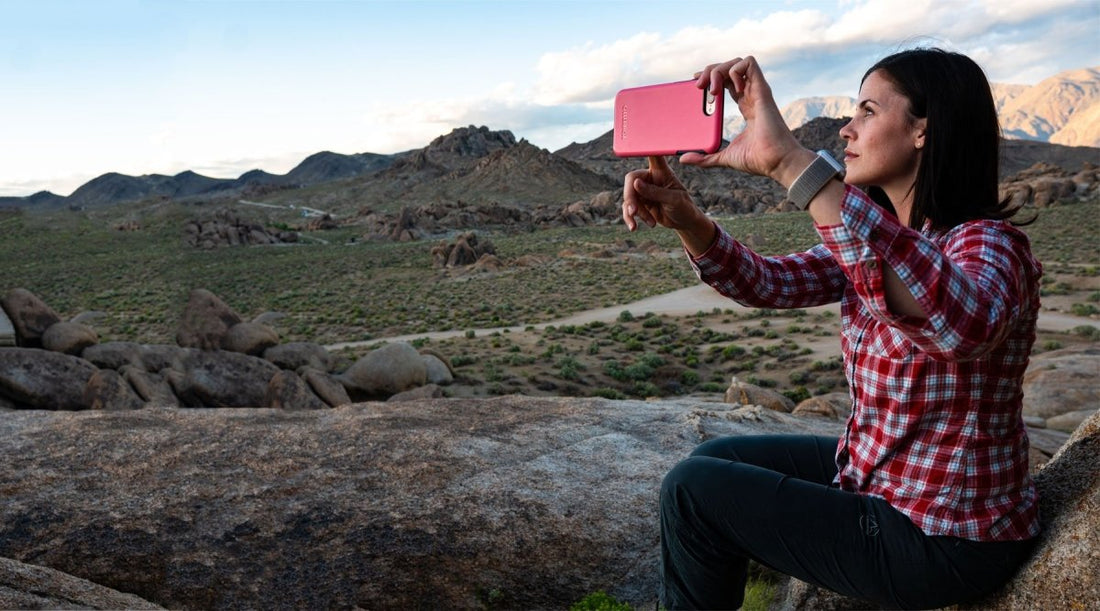
15 Tips for Taking Better Photos with an iPhone on Your Next Hike
The Best Camera is the One You Have With You

They say the best camera is the one you have with you, and as smartphone cameras have improved we find ourselves regularly leaving our DSLR at home and taking hiking photos with our iPhone. Here are fifteen of the tricks and tips that we've used to take our iPhone adventure photography to the next level.
1. Keep Your Lens Clean

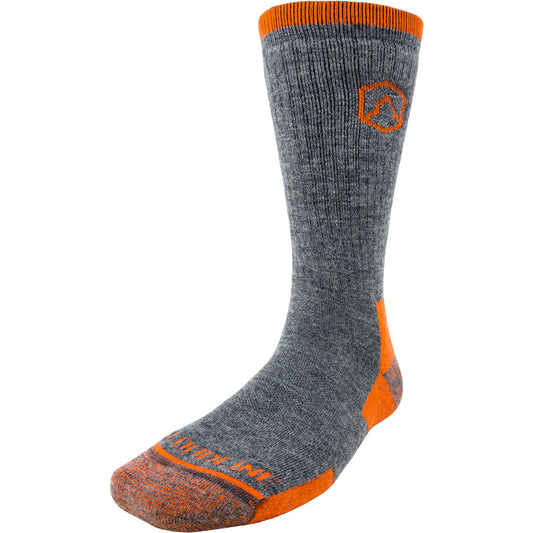
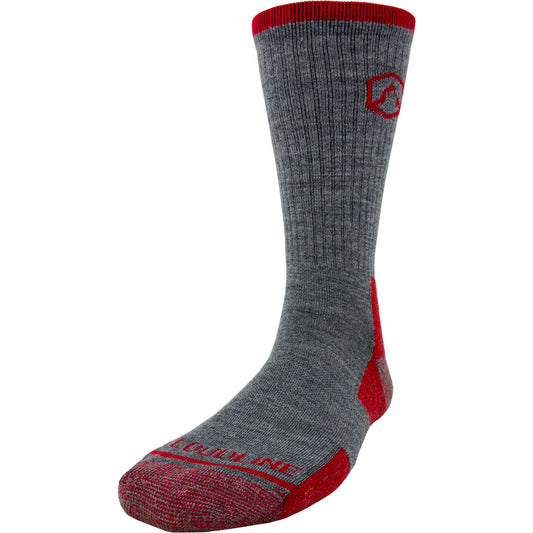
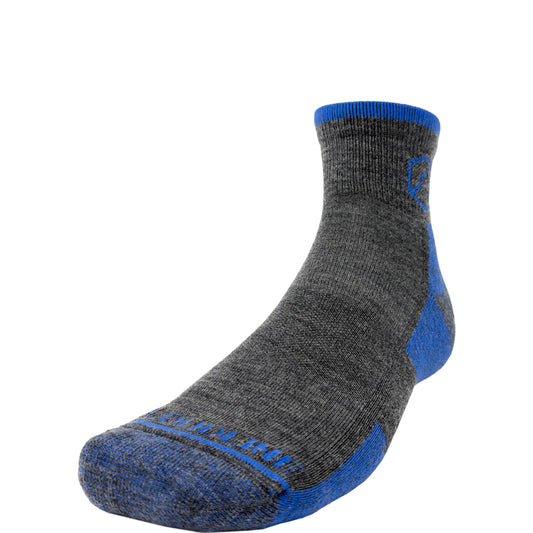
When you're hiking in the mountains there are plenty of opportunities for your iPhone's lens to get dirty, sweaty, and grimy. Carry a small lens cleaning cloth, use your shirt, or just a clean hiking sock to clean the lens periodically.
Pro Tip: A clean hiking sock also makes a great improvised iPhone sleeve. Slide your phone inside the sock, fold the sock over and throw it in your pack.
2. Tap to Focus and Hold to Lock Focus
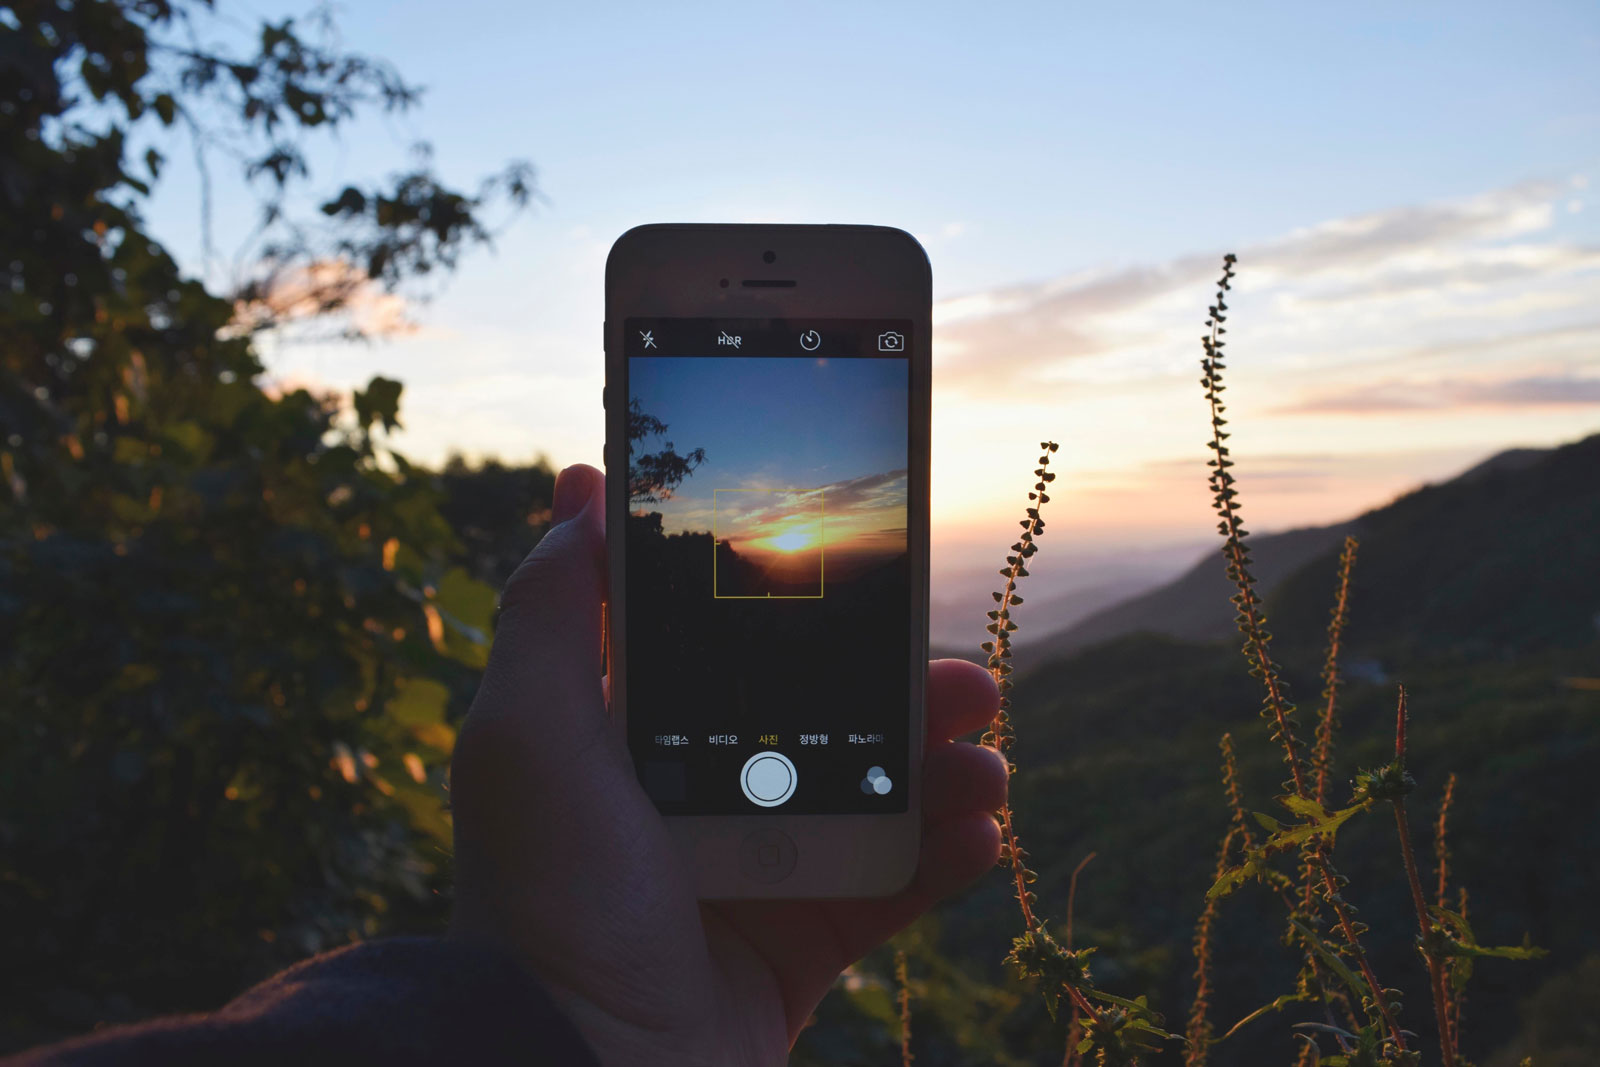
This feature can create great results when you are shooting subjects at different distances, for example a hiker with mountains in the distance. Tap the hiker and they will be in sharp focus against the background. Trying to take a macro shot of a wildflower? Tap and hold to lock focus on the flower for a crisp and detailed macro shot. When the focus is locked the focus square will pulse and the AE/AF Lock alert will appear on screen.
3. Use the On-Screen Grid
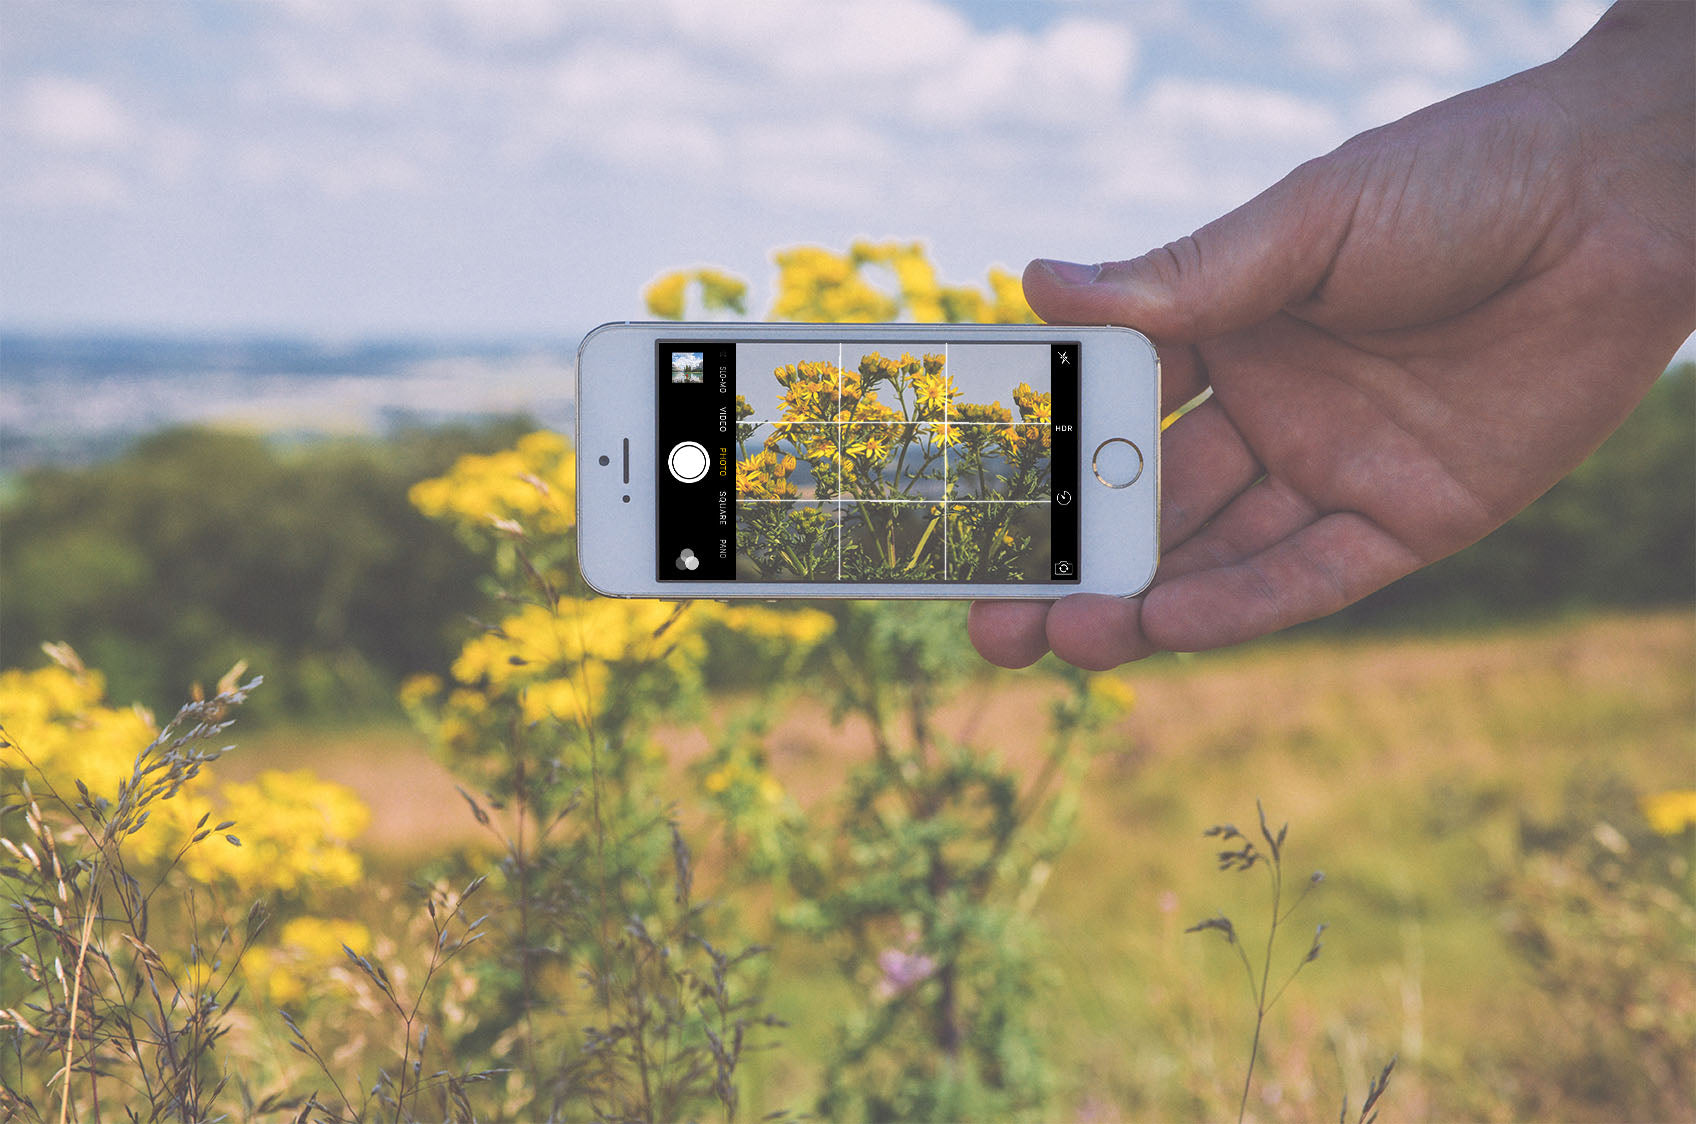
One of the basic principles of photography is The Rule of Thirds. Your iPhone has an optional grid overlay that can help you frame the perfect shot. Go to Settings > Photos & Camera and toggle the Grid switch on. Your iPhone camera screen will now show a grid to help you visually align each shot. Check out this Wikipedia article for an intro to The Rule of Thirds.
4. Be Ready for Photo Opportunities with the Camera Shortcut

Don't be that hiker that claims to have seen Bigfoot but didn't get a photo. Using the iPhone camera shortcut saves valuable seconds, allowing you to swipe up from the lock screen to access the camera without worrying about a passcode.
5. Adjust the Brightness with the Exposure Slider

Your iPhone lets you adjust brightness after snapping a photo, but for the best results adjust the brightness as you shoot. Simply Tap the screen to focus and bring up the Exposure Slider and then slide up and down to adjust as needed.
6. Zoom with Your Feet, not the Digital Zoom
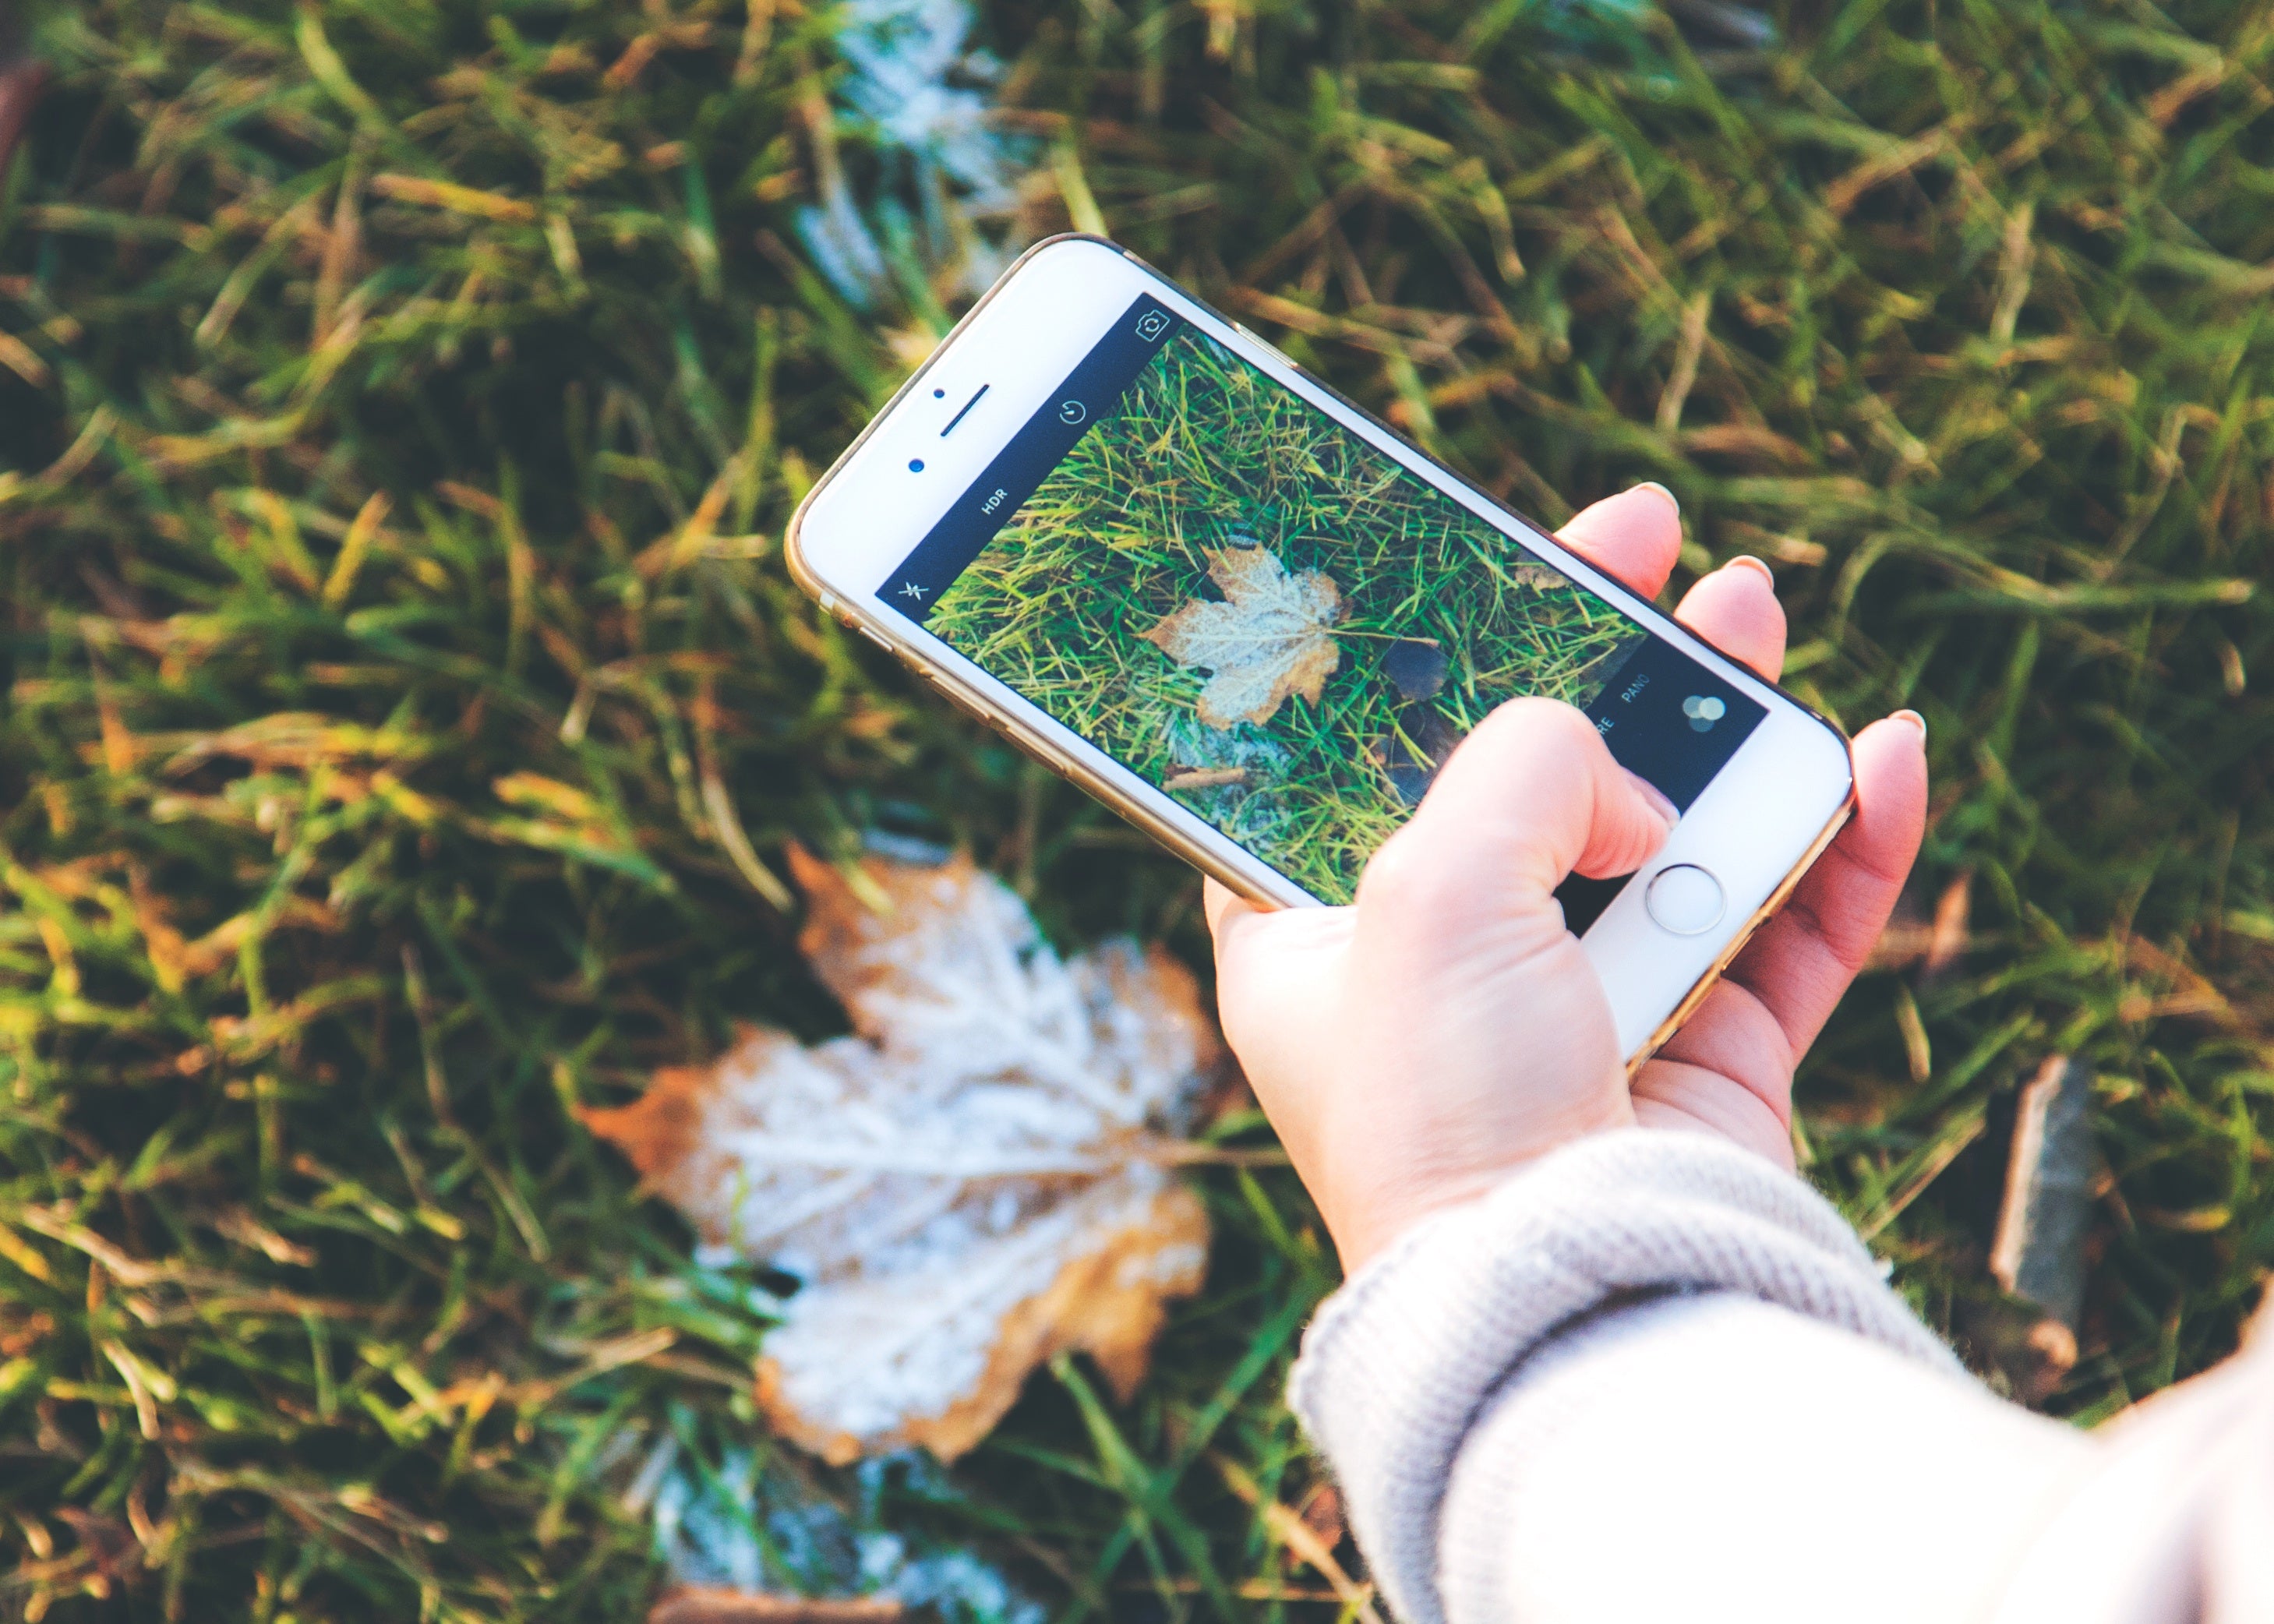
Your iPhone doesn't have an optical zoom, so when you use the digital zoom function you create a lower resolution image. Instead, try and get closer to your subject to get a full resolution photo with crisp details.
Warning: Do not get close to a bear or other large wildlife for the sake of a picture. In that situation, the digital zoom is the safe way to go.
7. Binocular Zoom Hack
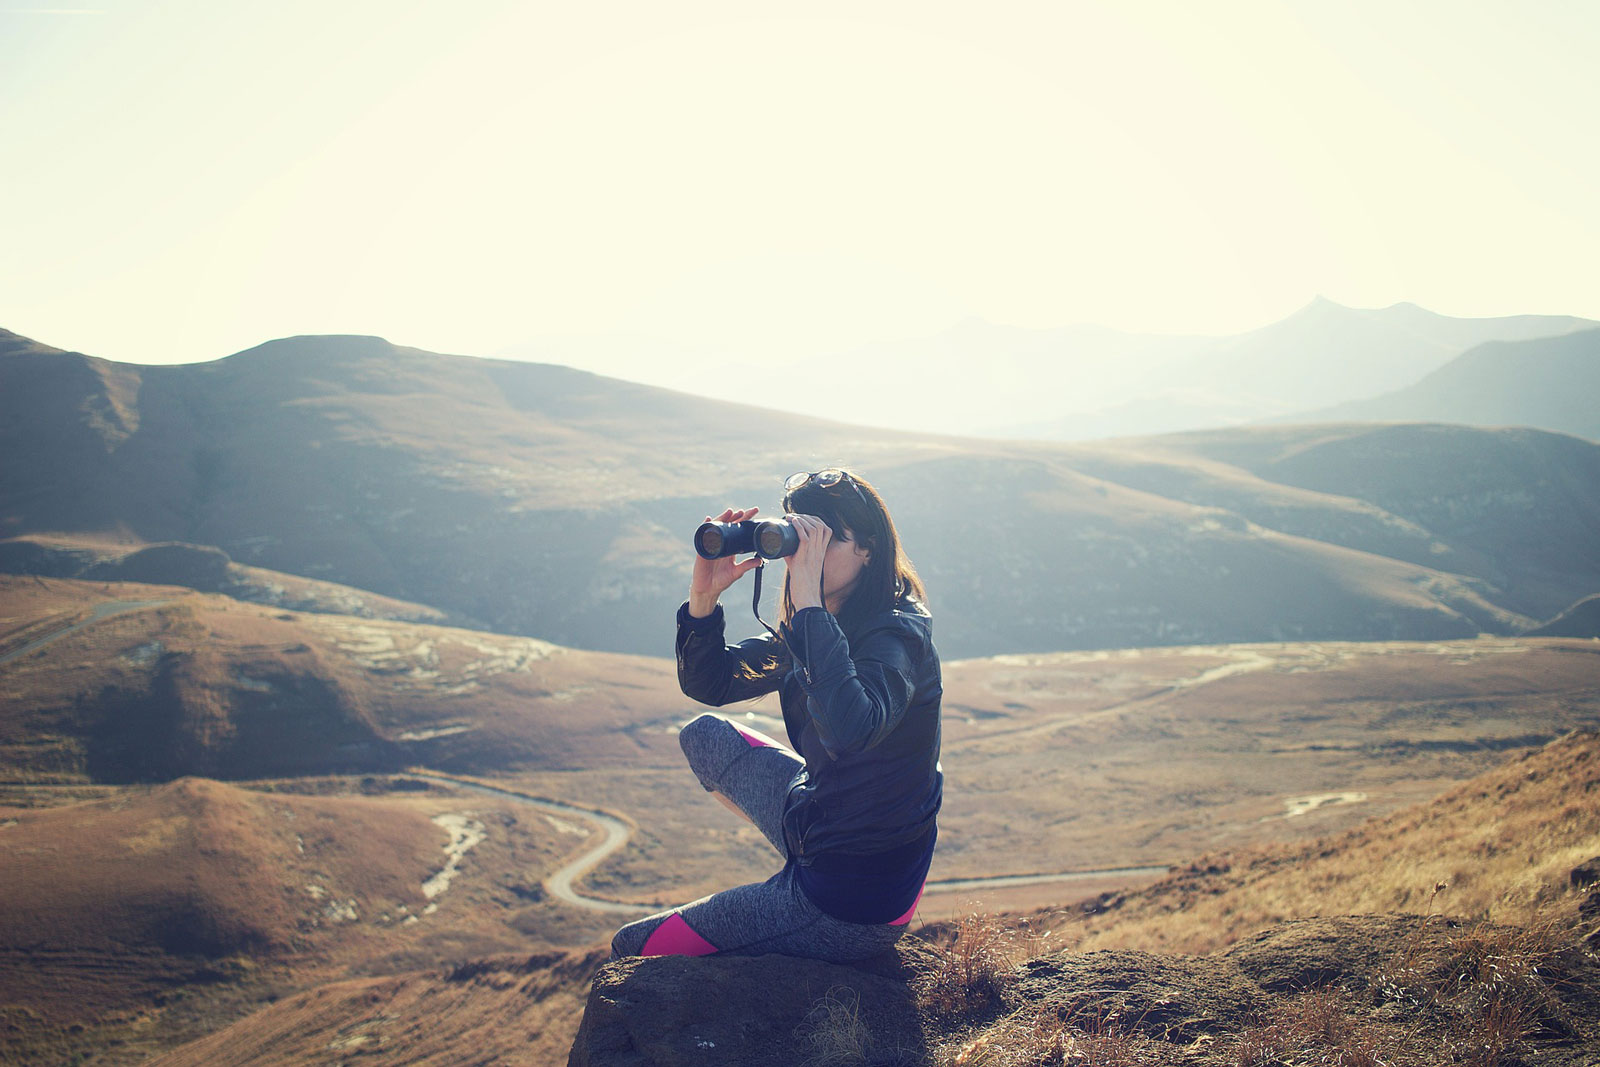
Do you carry binoculars when you hike? Your iPhone has an autofocus sensor that works similar to the human eye. This means you can hold your lens up to your binocular for a DIY telescoping lens. Its a bit tricky but can create some awesome close-ups of that bear across the meadow.
8. Bring an Ultralight Tripod
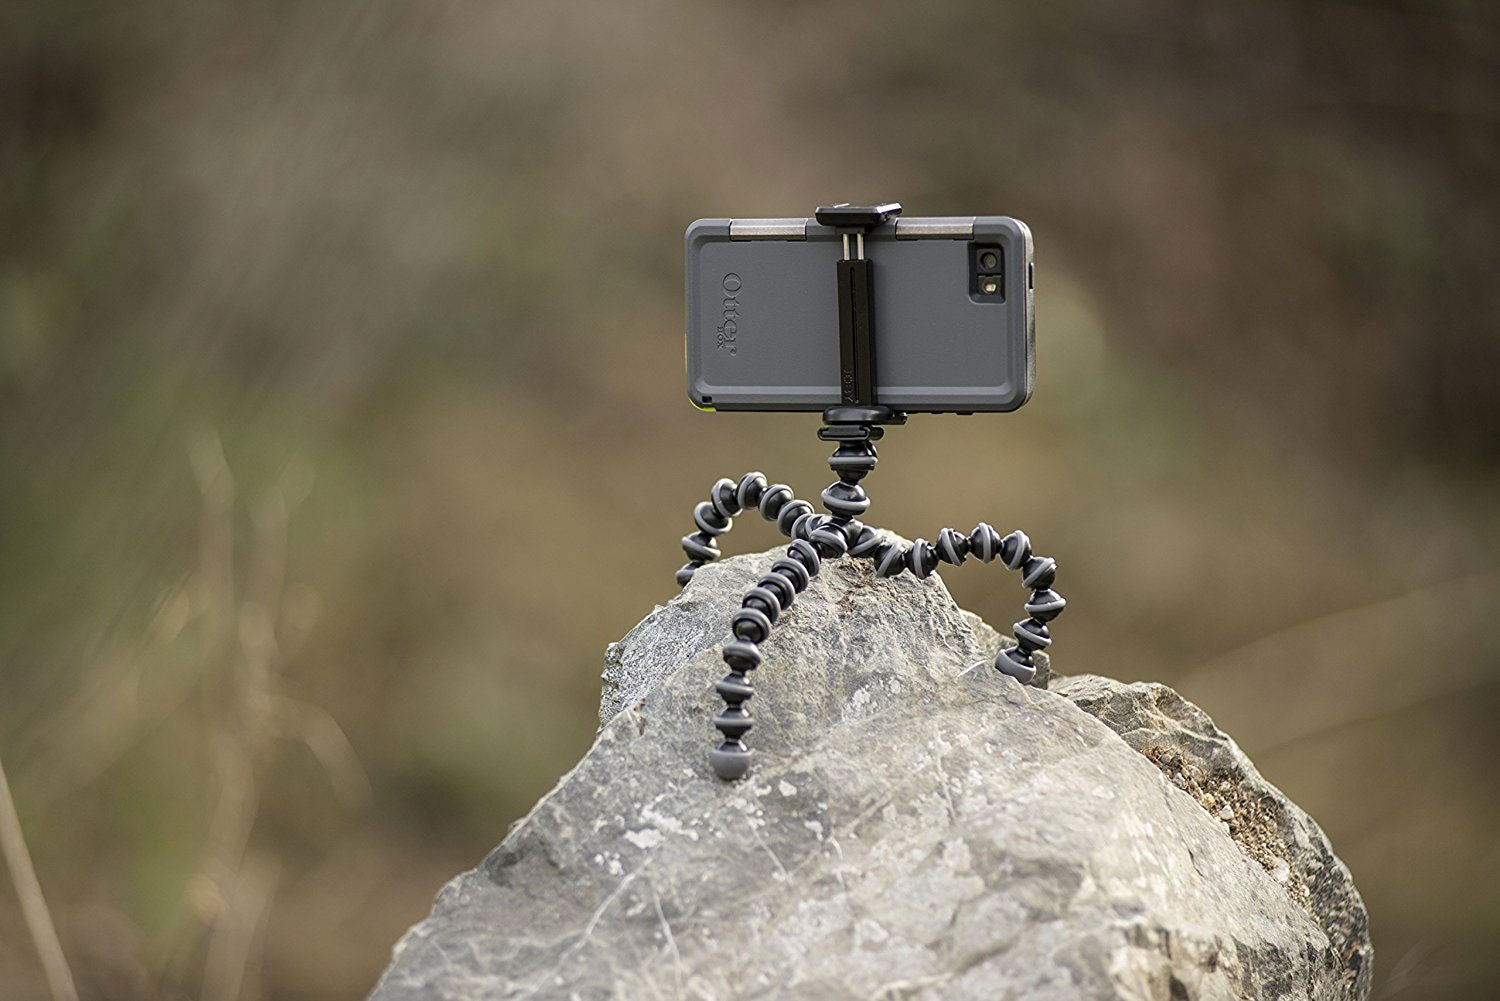
If taking the best photos is your goal, a tripod is well worth the added weight. Options include full-sized tripods, a hiking pole with a tripod adaptor on top of the grip, and mini tripods with flexible legs that can grip to objects like tree branches. A tripod will help you keep your iPhone steady for a crisp and clear image every time. With a tripod, you can also use the iPhone timer setting to put yourself in a shot without it looking like a selfie. A tripod is also perfect for a time-lapse or long exposures using 3rd party iPhone apps. Check out tip number 14 for more.
Recommended Gear: GripTight GorillaPod Stand for Smartphones.
9. Capture the Moment with the iPhone's Time-Lapse Feature
You used to need a high-end camera and software to convert a series of photos into a time-lapse, the iPhone 6 changed that by adding a time-lapse mode. Now you can capture that beautiful hour-long sunset, and your iPhone automatically turns it into a brief time-lapse.
Pro Tip: For best results use a tripod to keep the frame steady.
10. Use Panorama Mode to Really Capture the Scenery

Nothing captures the beautiful landscape of your hike better than a panoramic shot. The iPhone allows you to create amazing panoramas by switching to Pano Mode and following the onscreen arrow to align the shot. Be sure to check the results to be sure everything stitched together properly, as it can sometimes take a few tries to get it right.
Pro Tip: If you take a panorama on a hike only to get home and find that some of the edges are black and jagged, you can use Photoshop's Content-Aware Fill feature to repair the photo.
11. Use Auto HDR
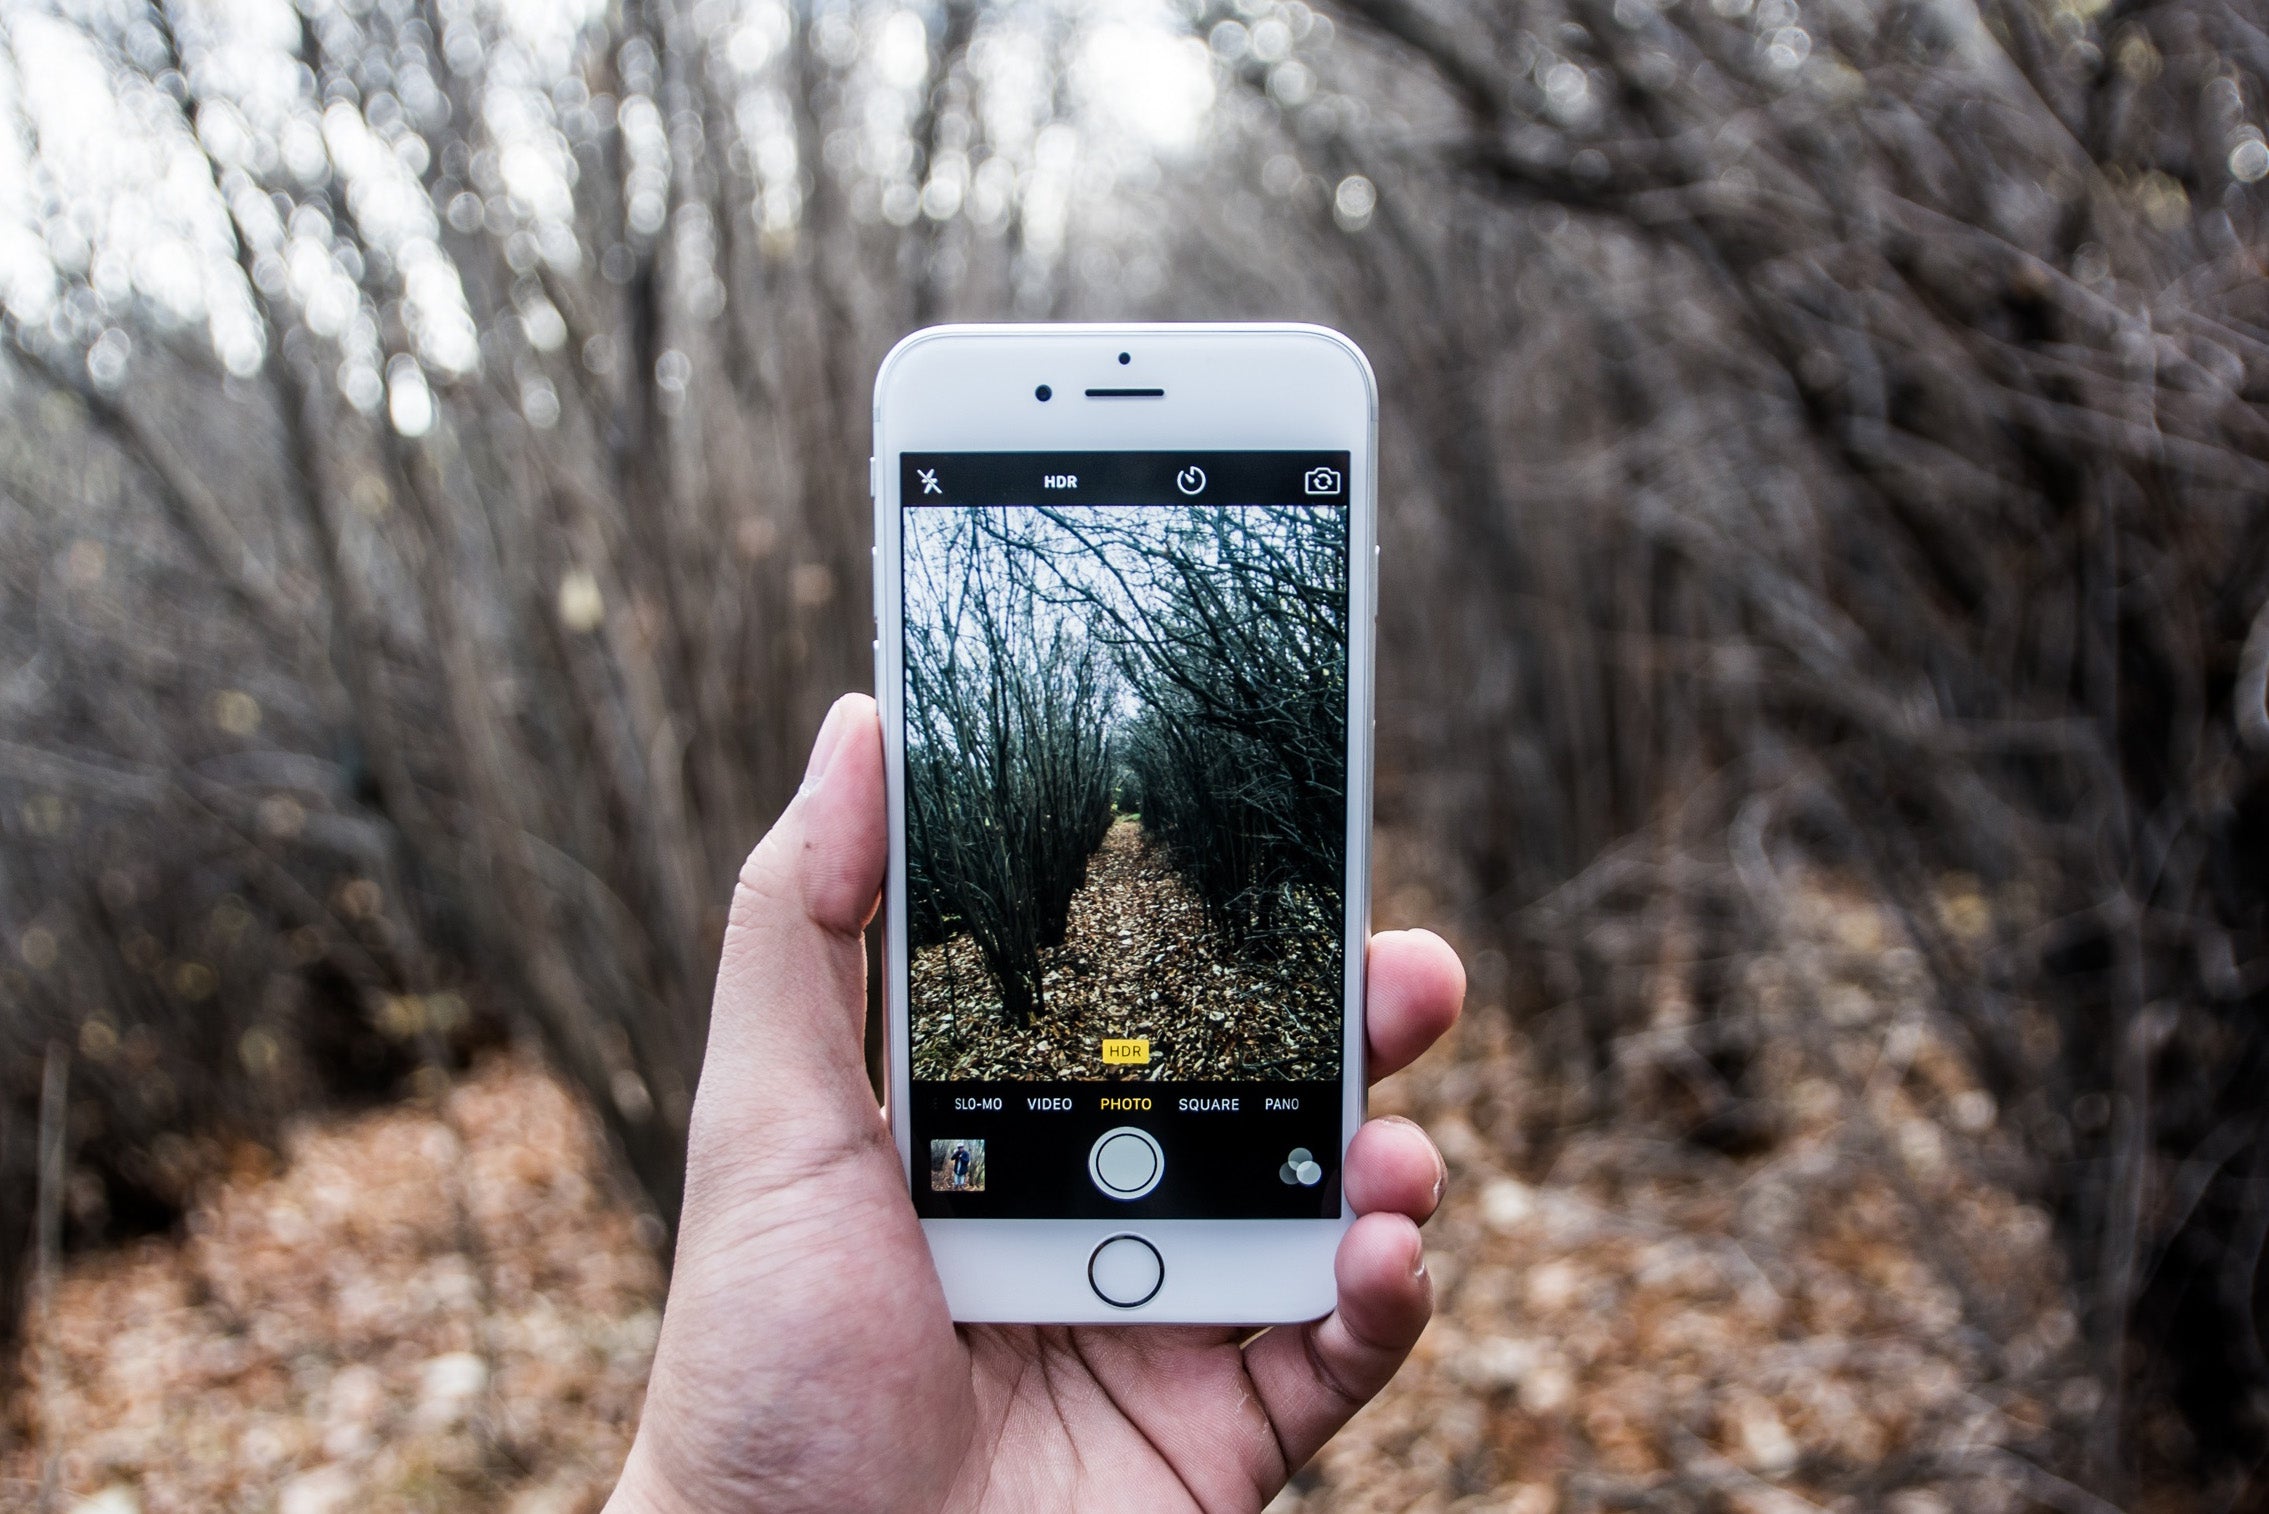
HDR is short for High-Density Range and is a software feature that can help you take better photos. In HDR mode your iPhone takes a series of photos at different exposures that are combined to create a single photo that captures the detail of the dark and bright portions of the photo. This is especially helpful for shots with contrasting light, such as the bright sun setting behind a mountain ridge. Turn on HDR Auto and your iPhone will automatically use HDR mode as needed to make sure you get the best results with every shot.
12. Capture the Action with Burst Mode
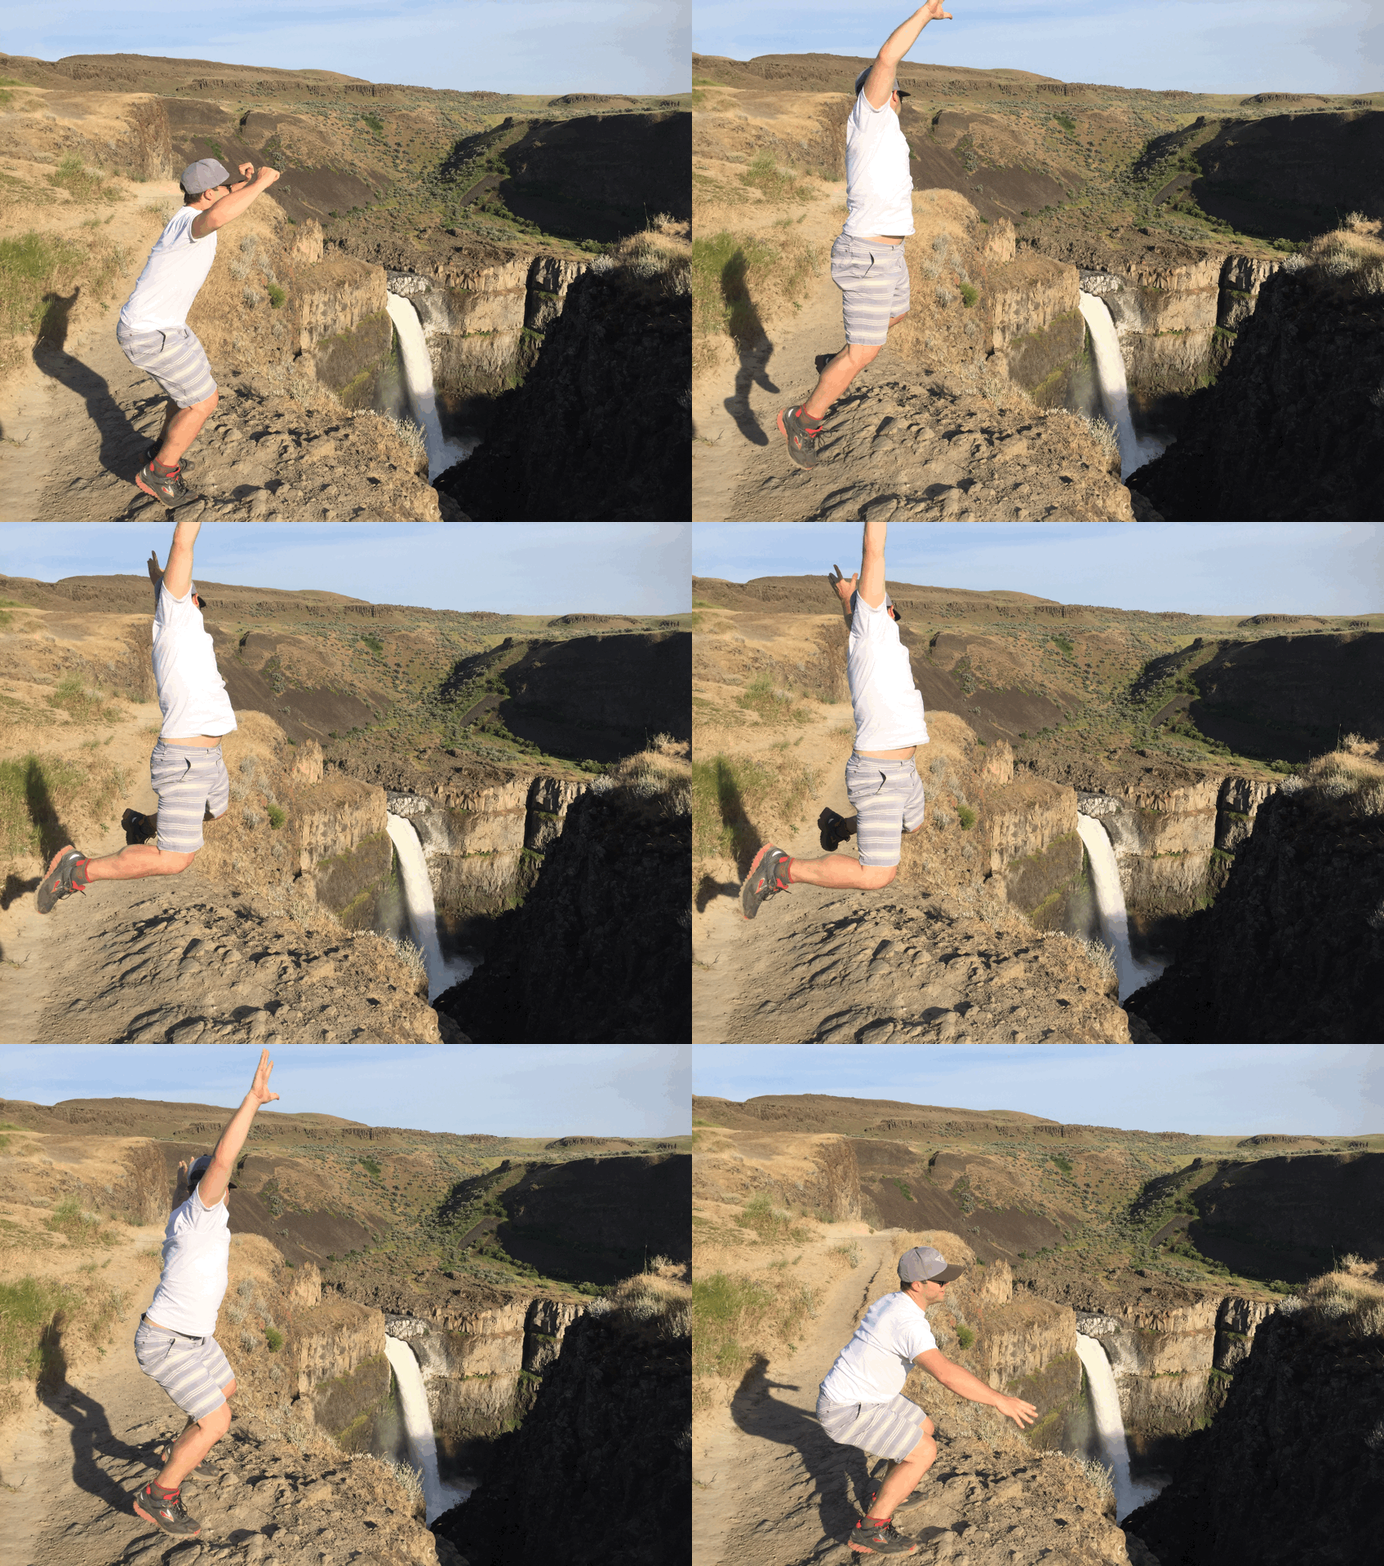
Make sure you get the perfect shot by utilizing the iPhones Burst Mode. Simply hold the shutter button for as long as you would like to capture, and your iPhone will collect a series of photos, catching all of the action. This is perfect for getting the perfect shot of moving wildlife, like that bear chasing your hiking partner.
Pro Tip: Turn a burst of photos into an action GIF with an app like Burstio.
13. Hiking Solo? Take a Selfie!

We aren't saying you have to buy a selfie stick, but we think if you are going to take a selfie it should be in the backcountry. Plus, how else are your friends supposed to know what an awesome hiker you are?
Pro Tip: Not a selfie fan? You can use your Apple Watch as a remote and setup your phone to frame the perfect shot and take picture of yourself that don't look like a selfie.
14. Snap Photos With the Volume + Button
This tip seems simple but the tactile feedback of the volume + button on your iPhone can help you keep the phone steady as you shoot for clearer pictures.
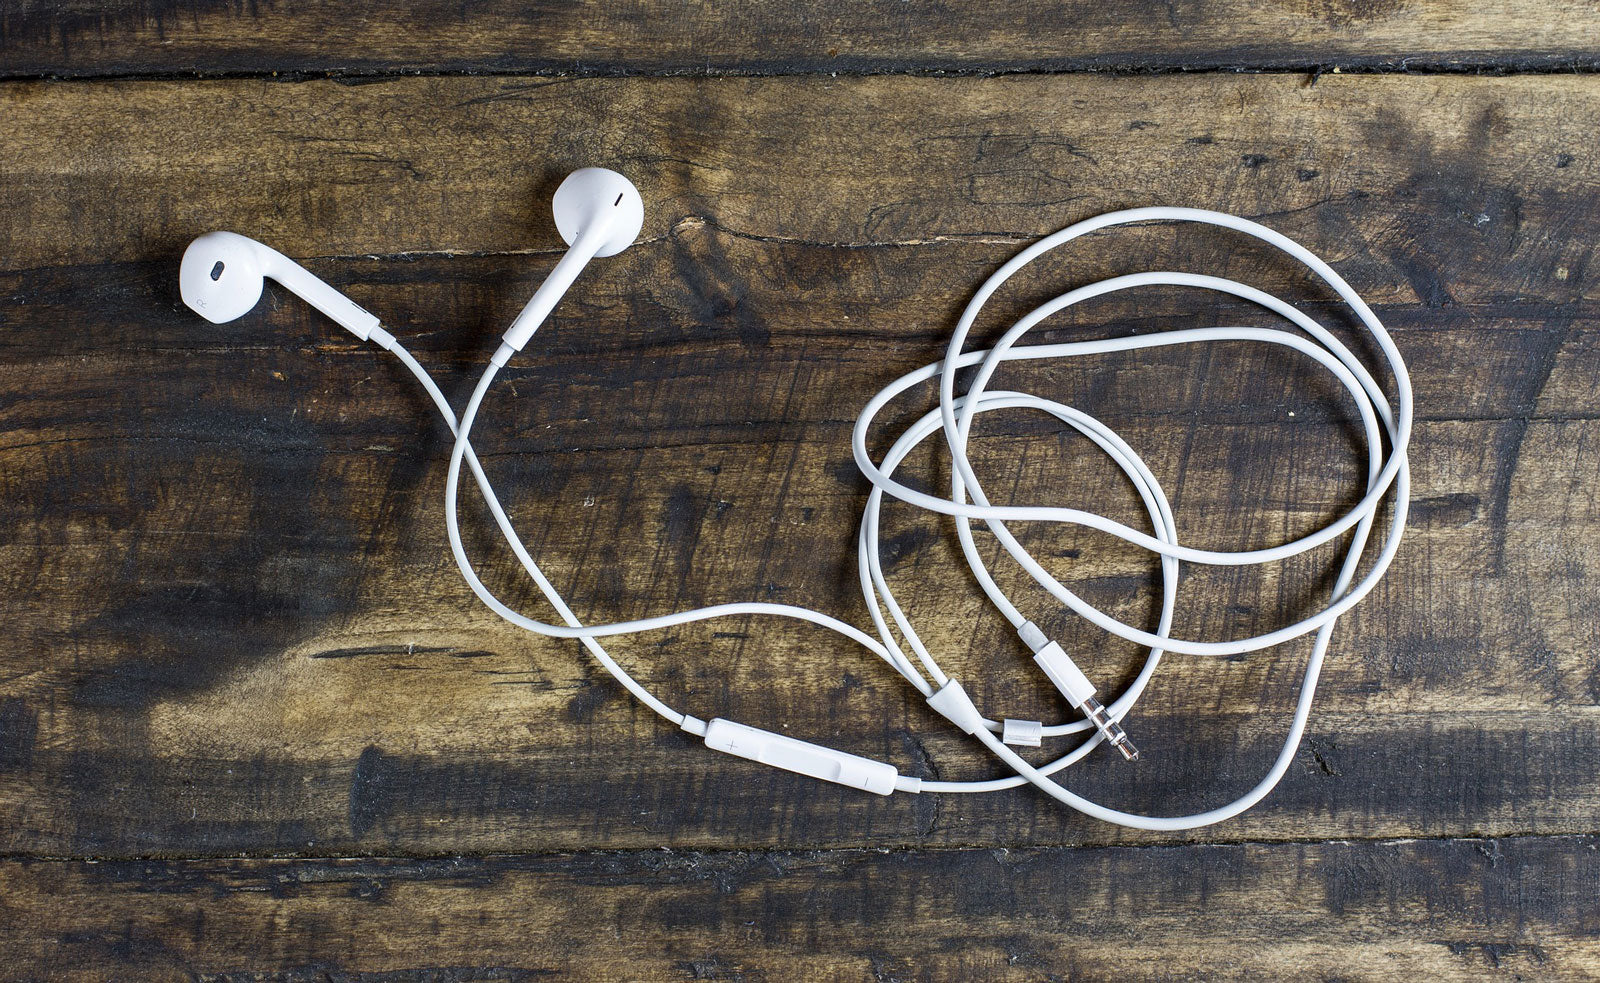
Pro Tip: Connect your earbuds to use the inline volume + button to take a photo. When combined with a tripod and a 3rd party app, this allows you to take perfect long exposures while the camera stays perfectly still.
15. Try a few 3rd Party Apps
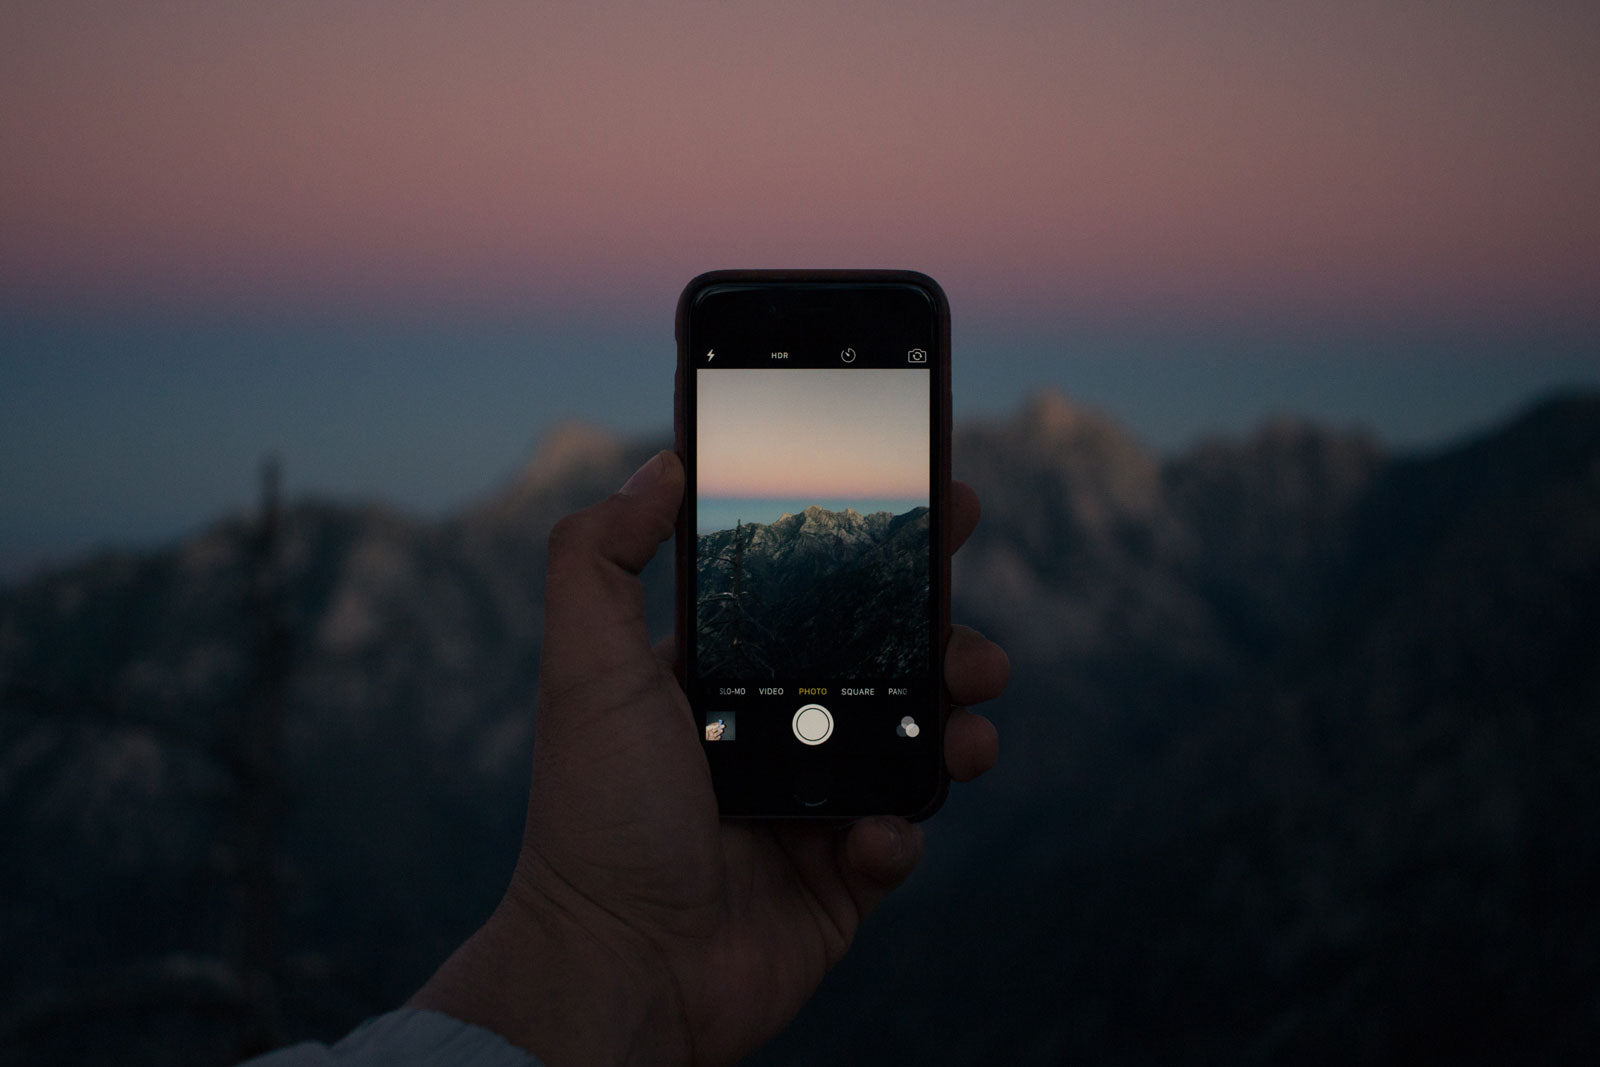
The App Store is full of 3rd party camera apps that offer features not found on the iPhones default camera. These are particularly helpful for taking long exposures, and night shots. Download a few to experiment with on your next adventure.
Go Take Some Photos!
All these tips are great, but the best way to take better iPhone photos is to get out there and start shooting. Go hiking, backpacking, or just out to the woods and start using your iPhone to capture your adventures. Then visit us on Instagram and share your favorite iPhone hiking photos with the @_cloudline community!
Need some inspiration? Read 5 of our favorite adventure quotes next.
Click here to view all the products at Cloudline Apparel!

