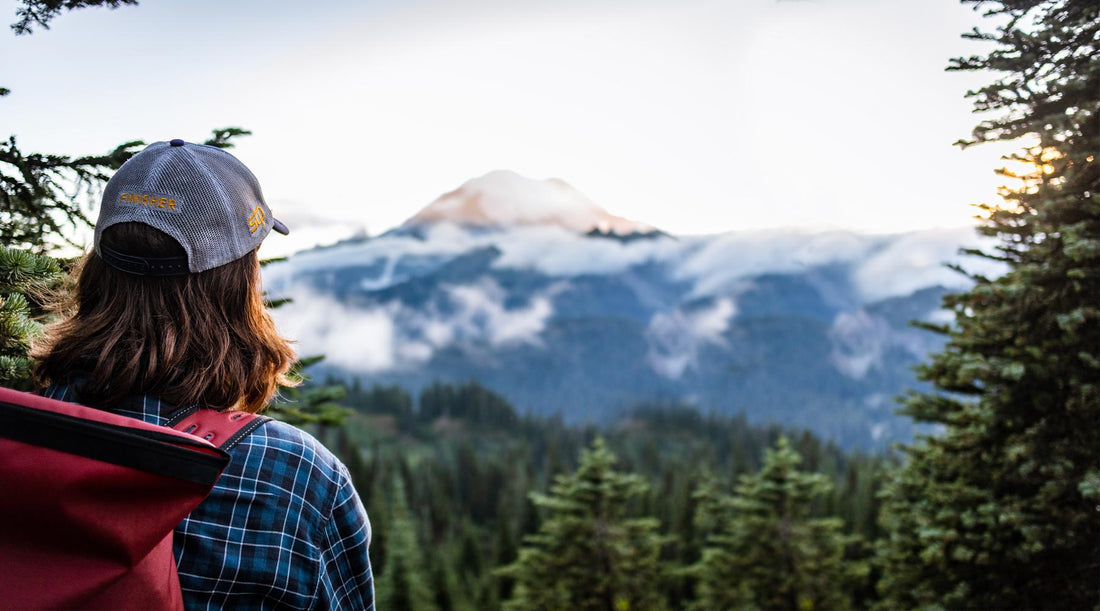
How to Make Sure Your First Solo Hike Is a Positive Experience
Thinking about hiking alone?
When you think about self-care, a solo hike doesn’t always come to mind. But hiking by yourself can be extremely rewarding — not to mention peaceful. It’s a great way to spend some quality time with yourself.
As with most outdoor activities, hiking alone can be nerve-racking at first. But if you take the proper precautions, there’s not much to worry about.
Hiking alone has lots of perks:
- No more waiting at the trailhead for your friend who’s always late.
- No more feeling guilty for leaving your slower hiking partner in the dust.
- No more straining to catch up to the group when you’d rather savor the view.
You get the point. When hiking alone, you get to be in charge of the adventure.
Ready to hit the trail with just yourself for company? Continue reading to learn how to have a safe, epic, and memorable solo hike.
Plan Your Hike

You should take time to plan every hike. But planning a solo hike is extra important.
Start by choosing the right trail. Beginners should start with a well-maintained, designated trail. In fact, all but the most experienced hikers would benefit from choosing a well-traveled trail when hiking alone — that way, you can spend most of your hike within earshot or sight of other hikers. If you’re a little nervous about hiking alone, a well-traveled trail can ease your fears. Sites like AllTrails and Outdoor Project are great resources to help you find the perfect hike.
Research the trail you’re planning to hike. Looking at recent trail reports can help you know what to expect in terms of:
- Finding the trailhead
- Navigating the trail
- Learning about current trail conditions
- Learning about recent wildlife activity
And don’t forget to check the weather forecast where you plan to hike so you can pack and dress accordingly.
Tip: Look up the ranger station’s phone number and hours of operation. Feel free to contact them directly with any unanswered questions — that’s what they’re there for.
Bring the 10 Essentials
Don’t leave the trailhead without the 10 essentials. Of course, you should have the 10 essentials with you on every hike, but on a solo hike, they’re even more important. If something goes wrong, you should be as prepared as possible to keep warm, treat injuries, and keep yourself fed and hydrated.
The 10 essentials include:
- Navigation
- Sun Protection
- Insulation
- Illumination
- First-Aid
- Fire
- Repair Kit and Tools
- Nutrition
- Hydration
- Emergency Shelter
Tip: If you’ve never packed the 10 essentials, check out this guide for more detail.
Dress for Success

The key to dressing well on a hike is being able to adapt to changing weather. The best way to do this is to dress in layers.
Conditions change, as does your body temperature. Sure, during the summer — depending on where you live — you can probably get away without too many layers. A short sleeve shirt, a light jacket, and shorts or pants will do. But in many cases, you should pack for a variety of conditions.
Start with a wicking base layer, and bring a fleece or other warm layer to throw on top. For colder hikes, add a down jacket to your pack, along with a hat and gloves. Rain layers are important, too.
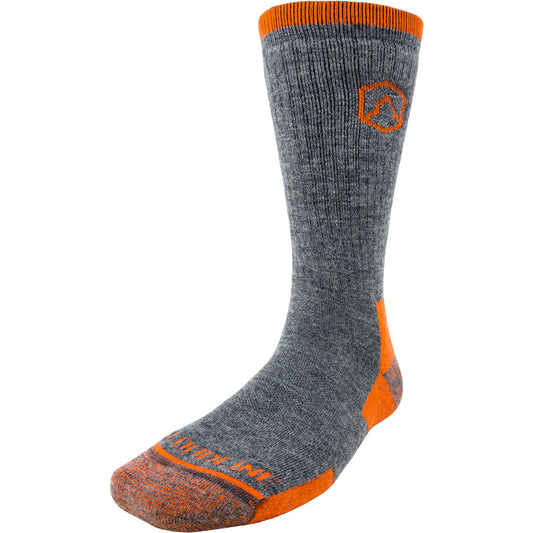
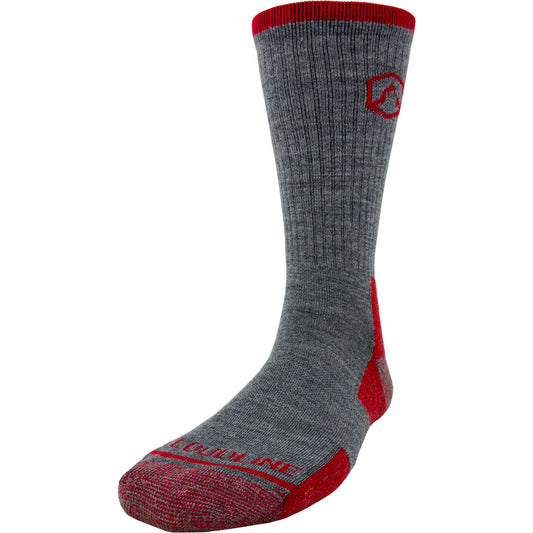
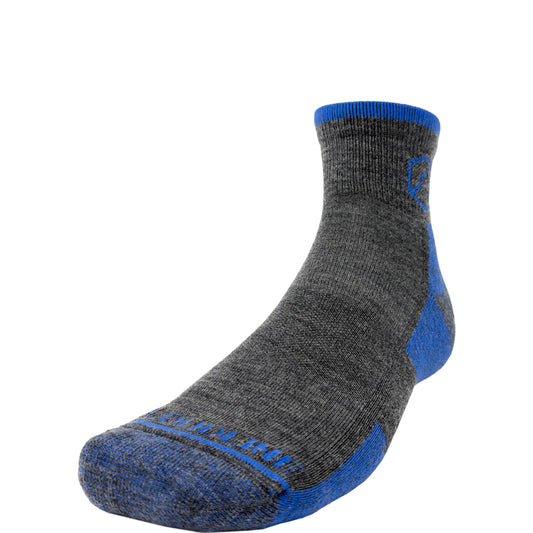
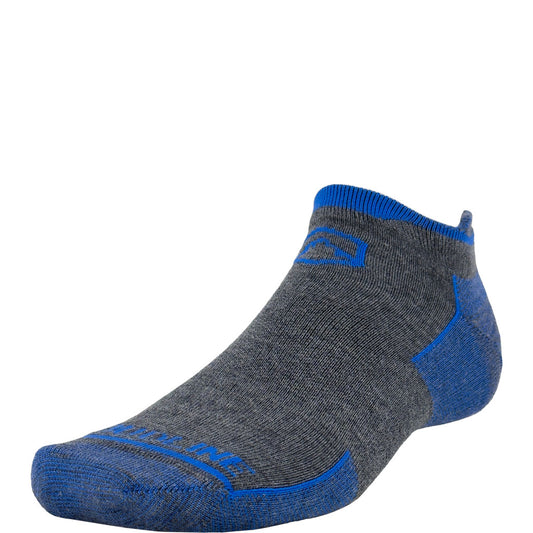
And of course, don’t forget about your socks! If there’s any clothing item that’s going to make or break your hike, it’s your socks. Merino wool hiking socks let your feet breathe, preventing debilitating blisters from ruining your hike.
Tell Someone Where You’re Going
Don’t make the mistake of going on a solo hike without letting someone know where you’re going. Not to be dramatic, but have you heard of Aron Ralston? His harrowing story can be a lesson to us all. We’re confident your solo hike will be enjoyable — not dangerous, like Ralston’s — but there’s no reason not to let someone know where you’re going.
Contact a reliable friend and share your planned route and expected return time. You can even give them the ranger station’s phone number. To be extra cautious, leave a note on your dashboard or sign the trail register.
Beware of Wildlife

When you head into the backcountry, it’s important to know what kind of wildlife you may encounter. Most of the time, wildlife won’t bother you. But depending on what lives in your area, it may not be wise to hike alone.
The National Park Service recommends hiking with a group in bear country — especially grizzly bear habitat. As rewarding as a solo hike can be, we don’t recommend hiking alone when there are bears in the area.
At the very least, choose a busy, well-traveled trail and bring bear spray. You can find bear spray at your local outfitter — just make sure you know how to use it before leaving on your hike.
For any potentially dangerous animal, make sure you know how to prevent a negative encounter. Usually, this means giving an animal space, backing away, and letting them know you’re human. Most state and national parks can provide more detailed information on the wildlife that live there.
Tip: For more safety tips about hiking in bear country, check out this blog post.
Know Your Limits… But Don’t Limit Your Fun
It's okay to challenge yourself on a solo hike, but know your limits and be conservative, particularly when choosing a trail.
Mind your instincts and trust your gut. If you're feeling exhausted, there’s no shame in turning around mid-hike. Or if the weather takes an unexpected turn — no matter how close you are to the summit — it’s okay to be cautious and return to the trailhead. It's always better to be safe than sorry — especially when hiking alone.
One of the best things about solo hiking is enjoying the hike your way — while taking care to Leave No Trace, of course. Take breaks when you want, push yourself (within reason) when you feel like it, and stop to enjoy the view at your leisure. How you hike when you’re on your own is entirely up to you.

12 comments
I carry my 9MM!
Before heading out on your hike, take a phone pic of yourself at the trail head and text it to you main contact along with your ETA for trail exit. It’s not only a record of your hike, but your contact can send it to authorities to show them exactly who and where to look should you need rescue.